Snowpark Migration Accelerator: Validation
To proceed with the validation process, follow the steps outlined below:
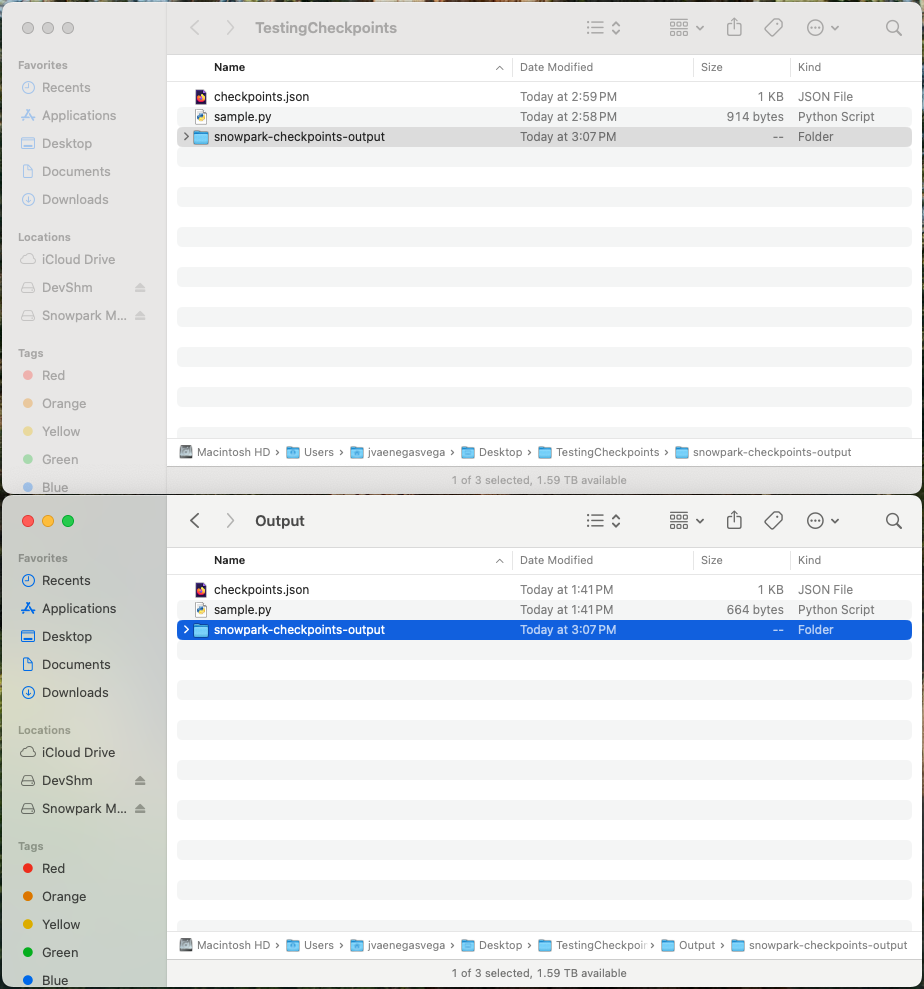
Copy the
snowpark-checkpoints-outputfolder, generated during the collection process, into the validation workload.
Open the validation workload in VS Code to begin the validation process.

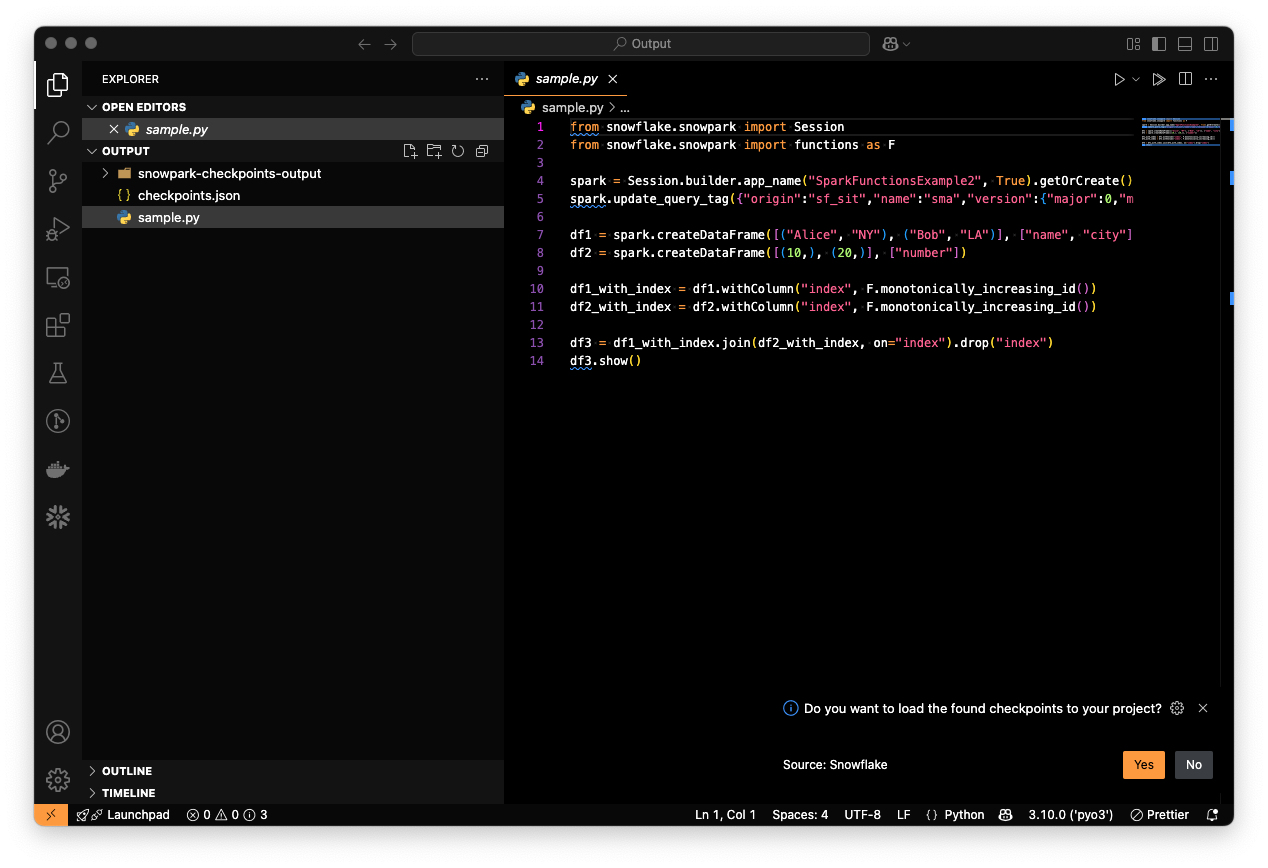
Generate checkpoints using the
checkpoints.jsonfile.
To generate checkpoints you can do one of the following actions:
Generate them by accepting the suggesting message:

Execution “Snowflake: Load All Checkpoints command”

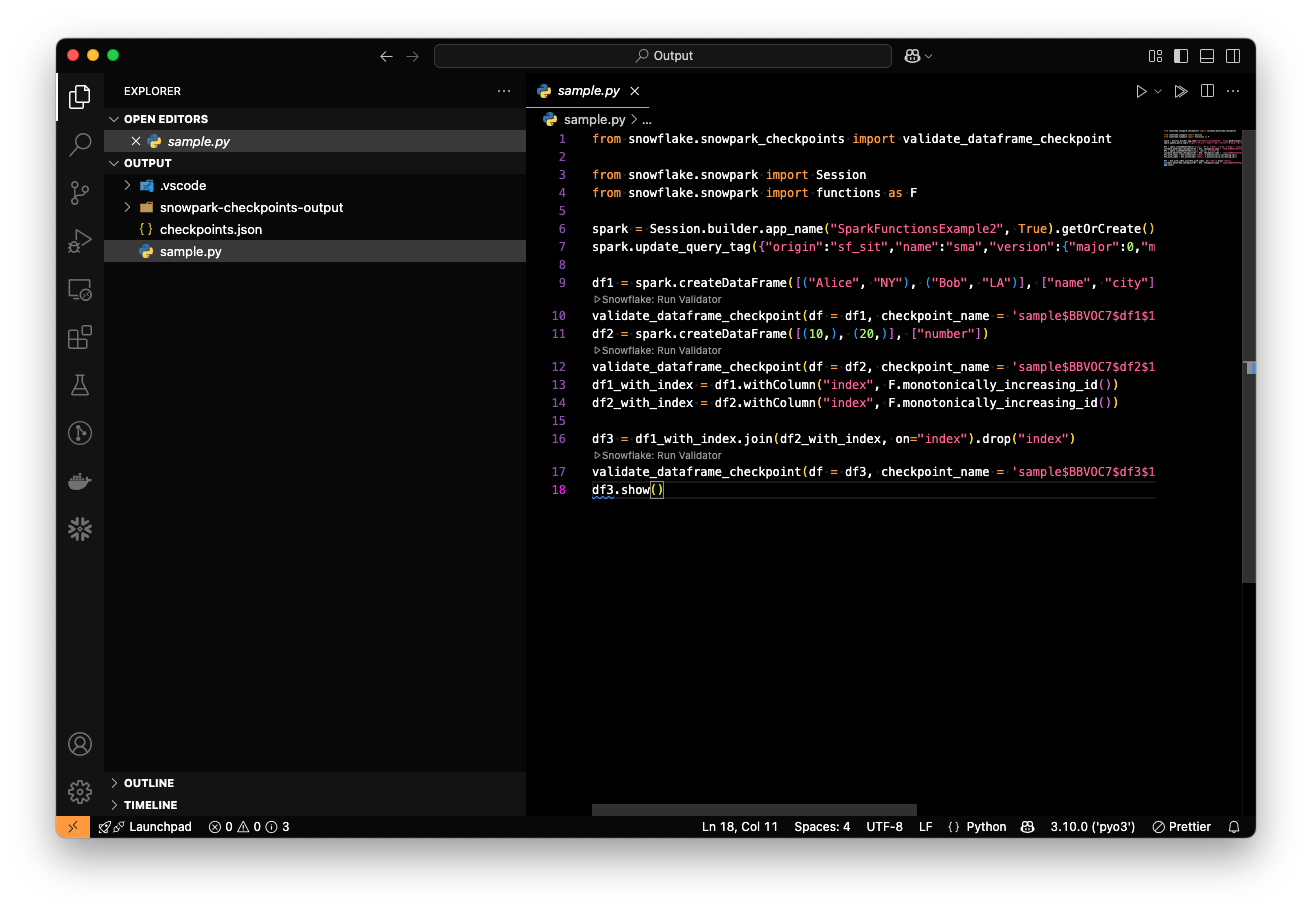
Once all checkpoints are loaded, your files should appear as follows:

Run the Python file to execute the checkpoints validation process.
When running a python file that contains validation checkpoints, the validation results are going to be shown in the copied “snowpark-checkpoints-output” folder as “checkpoints_validation_results.json”:

The “checkpoints_validation_results.json” contains the unified results of the collection process
{
    "results": [
        {
            "checkpoint_name": "sample$BBVOC7$df1$1",
            "file": "sample.py",
            "line_of_code": 10,
            "result": "PASS",
            "timestamp": "2025-05-05T15:32:29.248917"
        },
        {
            "checkpoint_name": "sample$BBVOC7$df2$1",
            "file": "sample.py",
            "line_of_code": 12,
            "result": "PASS",
            "timestamp": "2025-05-05T15:32:31.137536"
        },
        {
            "checkpoint_name": "sample$BBVOC7$df3$1",
            "file": "sample.py",
            "line_of_code": 17,
            "result": "PASS",
            "timestamp": "2025-05-05T15:32:33.133002"
        }
    ]
}
The validation results, as seen above, will contain the comparison result between the PySpark and Snowpark DataFrames.